
Replacing subfloor is a process. The person who replaced the subfloor before me did not know the process.

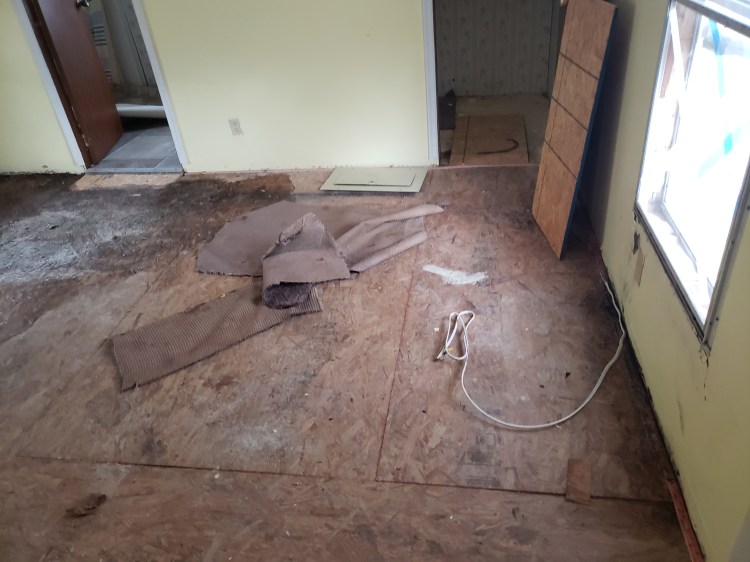
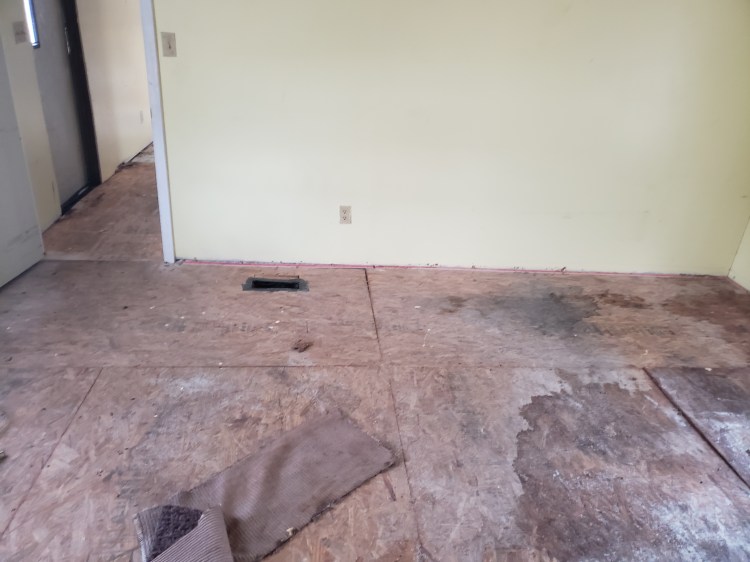
This is what the subfloor of our master bedroom looked like when we pulled up the old carpet. We were in for quite a shock when we started on the subfloor. The previous owners did inform us of a previous water leak, and that they had “fixed” the subfloor. They did not.


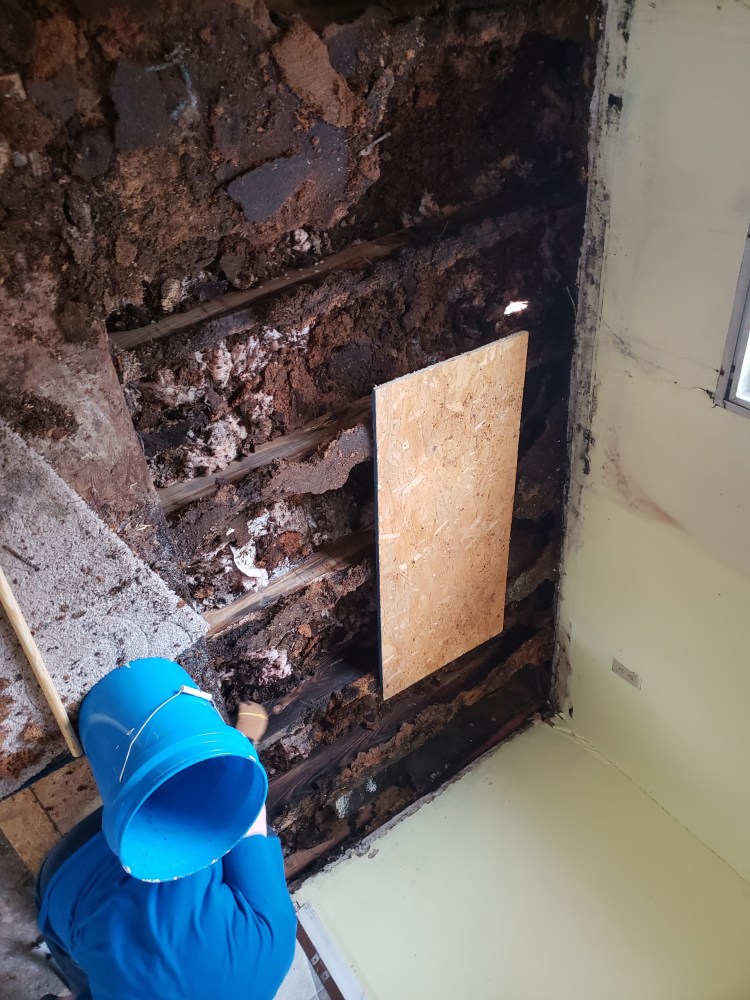
As we began what felt like an archeological dig of poor construction practices, we found multiple little surprises that left me scratching my head. I was curious why the floor was raised in the hallway and master bedroom of our trailer. Upon inspection of the master closet, I noticed there was carpet running under the subfloor. I thought to my myself “Surely they didn’t.” They did. Underneath the new subfloor was soaked carpet and underneath that carpet was the original subfloor. The particle board looked as though it had been soaked for years and never dried out. It had the consistency of cornflakes left in the bowl for hours. Upon removal of all the old wet subfloor and insulation, it took two days to dry the soaked floor joists (which were thankfully salvageable).

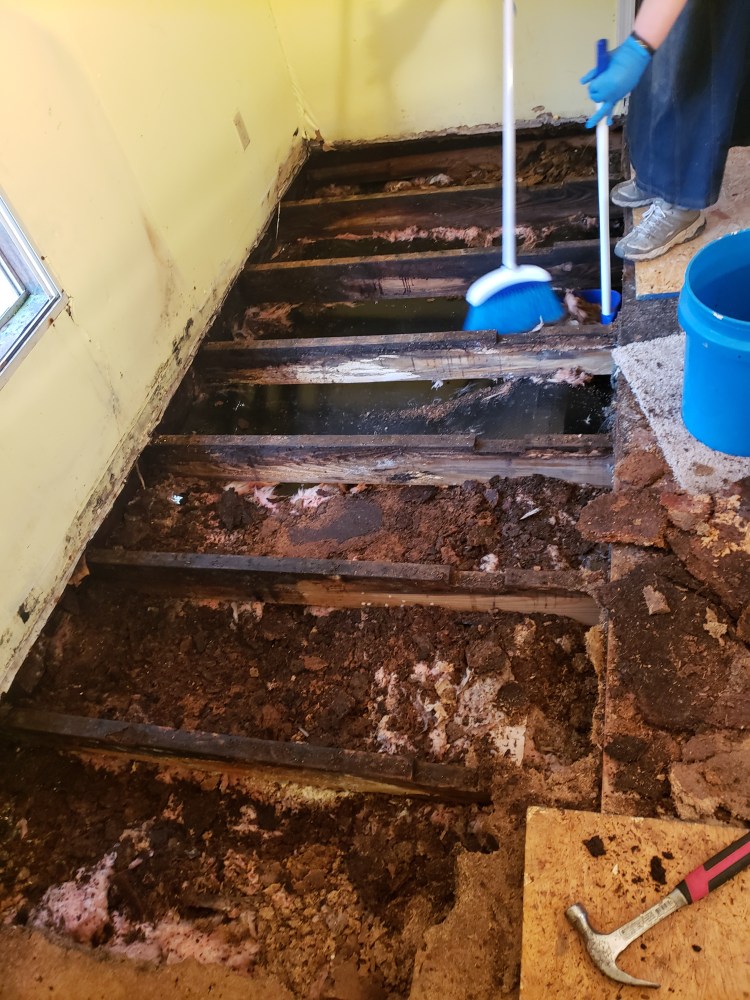


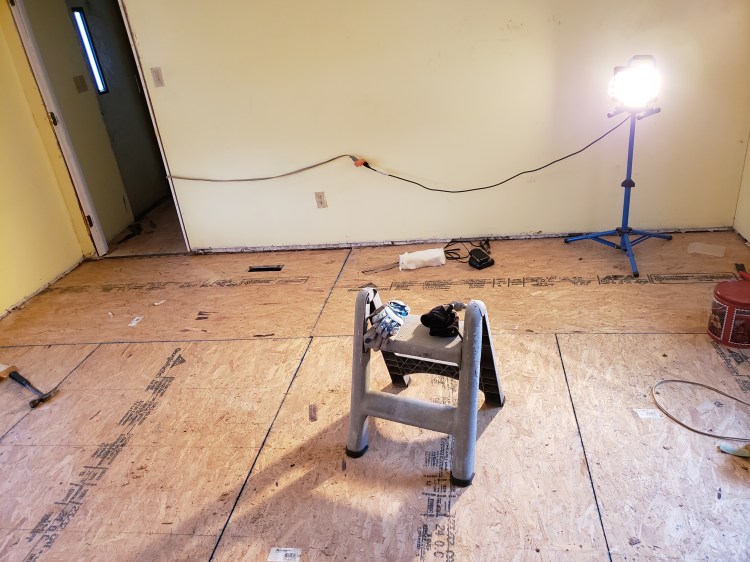
We filled several contractor bags with roach food cleaning out the old subfloor. We placed a dust pan between the joists and swept up the debris off the belly wrap. We put down brand new R19 insulation and 23/32 OSB (luckily I got mine when it was still under $40 a sheet).


Stay tuned for more updates. In the next installment I’ll show the subfloor work in the hallway and kitchen.
